In the past few weeks, I’ve gotten involved in the newly-debuted OpenStack project. Right now, my focus is on the Compute sub-project of the stack, called Nova. The initial pieces I am focusing on are the unit tests and end-to-end systems testing of the compute stack.
I struggled over the last couple days to solve a bug that turned out to be not a bug at all, but an issue with the Python development environment I use. I figured I’d write a blog article for those Python developers who are looking to contribute to the Nova project and may also be struggling to get up and going.
If you’re contributing to an open source project like Nova, you’ll want to be able to work on multiple branches of the source code at the same time — for instance, if you’re working on fixing a few bugs simultaneously.
There are quite a few dependencies for Nova, and, because of the way Python searches for packages, it’s imperative that you use a tool such as virtualenv to isolate your multiple branches into their own development environments. Otherwise, as I learned today, the location of your site-packages and what has previously been installed on your development machine can wreak havoc on you. 🙂
Installing the Tools for Installing the Tools
Before we get into our virtual development environments, you’ll first want to ensure you’ve got a few packages installed, including bzr, libssl-dev, swig and virtualenv. The following should do the trick:
sudo apt-get install -y swig libssl-dev bzr python-virtualenv
A Setup for Source Control and Virtual Environments
In order to get properly setup to contribute to the Nova project, you’ll want to setup a local repository to keep branches of source code that you work on. Although bzr is not required as your revision control system, I use bzr myself and will use it in this article. Adapt as needed if you use git-bzr or similar.
I like to have the following directory structure for working on Python projects:
~/repos/$projectname/ <-- shared repository for branches of your project
~/repos/$projectname/trunk <-- local trunk branch
~/repos/$projectname/$branch <-- a branch you work in
~/virtenvs/$projectname/ <-- Development environments for your project
~/virtenvs/$projectname/$branch <-- development environment for a branch you work in
Assuming you want to contribute to the Nova project and you want to work on fixing a bug #XXXXX, then following would get you started:
bzr init-repo ~/repos/nova
cd ~/repos/nova
bzr branch lp:nova trunk
bzr branch trunk bugXXXXX
mkdir -p ~/virtenvs/nova
At this point, we'll go ahead and create a virtual development environment for bugXXXXX:
cd ~/virtenvs/nova
virtualenv --no-site-packages bugXXXXX
cd bugXXXXX
source bin/activate
At this point, you'll notice your prompt change, indicating that you are now in a virtual development environment. The --no-site-packages ensures that your locally-installed Python packages aren't included in your Python PATH when inside your virtual environment.
Next step is to install into this virtual development environment all the packages and dependencies we'll need. This should do the trick:
easy_install twisted tornado boto M2Crypto IPy carrot mox redis
easy_install http://python-gflags.googlecode.com/files/python_gflags-1.3-py2.5.egg
Alright, next we simply link to our bzr branch location from inside the virtual environment and run the Nova test suite:
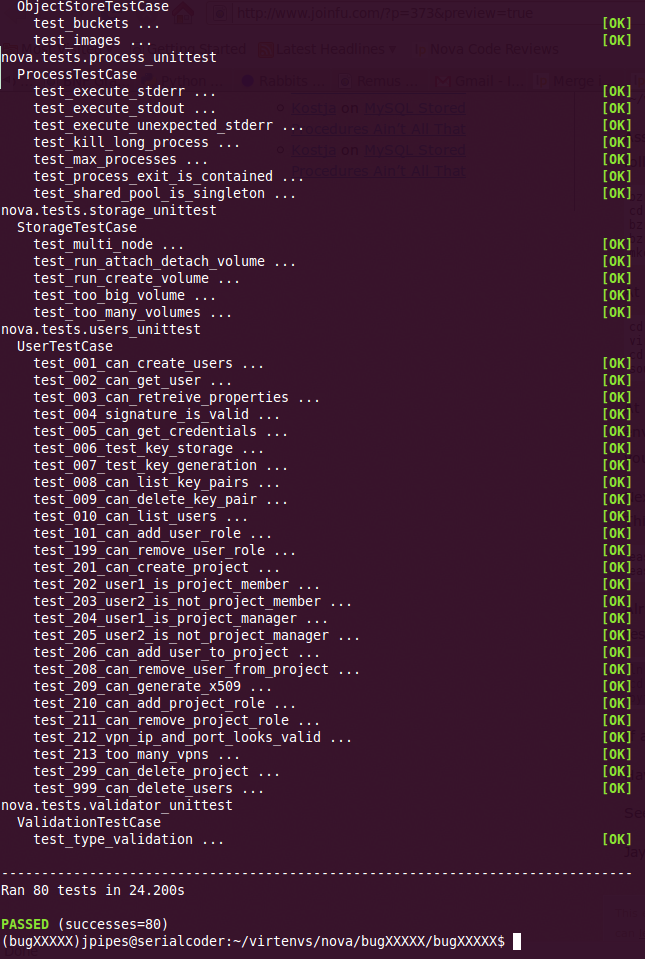
ln -s ~/repos/nova/bugXXXXX bugXXXXX
cd bugXXXXX
python run_tests.py
If all went smoothly, you'll see all passing test cases, like below 🙂
Having issues getting up and running? Find us on Freenode IRC #openstack.
See ya,
Jay